Running Jobs
Running Batch Jobs (Slurm)
User access to the compute nodes for running jobs is available via a job (whether interactive or batch job). Hydro uses the Slurm Workload Manager for running jobs. See the sbatch section for details on batch job submission.
Please be aware that the login nodes are a shared resource for all users of the system and their use should be limited to editing, compiling and building your programs, and for short, non-intensive runs. If you’re running an application that takes more than, say, 4 CPU cores or runs longer than 30 minutes, set it up to run on a compute node. If you run applications on the login nodes wider or longer than that, they may be killed. You might get a warning first. If you ever have questions if something is an appropriate use of the login nodes, please submit a support request.
An interactive job provides a way to get interactive access to a compute node via a job. See the srun section for information on how to run an interactive job on the compute nodes. Also, a very short time test queue provides quick turnaround time for debugging purposes.
To ensure the health of the batch system and scheduler, users should refrain from having more than 1,000 batch jobs in the queues at any one time.
There is currently 1 partition/queue named normal. The normal partition’s default wallclock time is 4 hours with a limit of 7 days. Compute nodes are not shared between users.
sbatch
Batch jobs are submitted through a job script using the sbatch command.
Job scripts generally start with a series of SLURM directives that describe requirements of the job, such as number of nodes and wall time required, to the batch system/scheduler (SLURM directives can also be specified as options on the sbatch command line; command line options take precedence over those in the script).
The rest of the batch script consists of user commands.
The syntax for sbatch is:
sbatch [list of sbatch options] script_name
The main sbatch options are listed below. Refer to the sbatch man page for options.
Partitions:
Full partition information can be listed with the
sinfo -scommand. (sandybridge, a100 can be specified for CPU and GPU jobs, respectively) Default is sandybridge if unspecified.--partition=<PARTITION_NAME>
For a100 partitions, a GPU resource needs to be included as well:
--gres=gpu:2
Wallclock time:
--time=*time*
time=maximum wall clock time (d-hh:mm:ss) [default: maximum limit of the queue (partition) submitted to]
--nodes=<n>

--ntasks=<p> # Total number of cores for the batch job

--ntasks-per-node=<p> # Number of cores per node (same as ppn under PBS)
Examples:
--time=00:30:00
--nodes=2
--ntasks=32
or
--time=00:30:00
--nodes=2
--ntasks-per-node=16
Memory needs: The compute nodes have 256GB.
Example:
--time=00:30:00
--nodes=2
--ntask=32
--mem=118000
or
--time=00:30:00
--nodes=2
--ntasks-per-node=16
--mem-per-cpu=7375
Useful Batch Job Environment Variables
Description |
Slurm Environment Variable |
Detail Description |
|---|---|---|
Array JobID |
$SLURM_ARRAY_JOB_ID $SLURM_ARRAY_TASK_ID |
Each member of a job array is assigned a unique identifier. |
Job Submission Directory |
$SLURM_SUBMIT_DIR |
By default, jobs start in the directory that the job was submitted from; the |
JobID |
$SLURM_JOB_ID |
Job identifier assigned to the job. |
Machine(node) list |
$SLURM_NODELIST |
Variable name that contains the list of nodes assigned to the batch job. |
See the sbatch man page for additional environment variables available.
Sample Batch Script
#!/bin/bash
### set the wallclock time
#SBATCH --time=00:30:00

### set the number of nodes, tasks per node, and cpus per task for the job
#SBATCH --nodes=3
#SBATCH --ntasks-per-node=1
#SBATCH --cpus-per-task=16

### set the job name
#SBATCH --job-name="hello"

### set a file name for the stdout and stderr from the job
### the %j parameter will be replaced with the job ID.
### By default, stderr and stdout both go to the --output
### file, but you can optionally specify a --error file to
### keep them separate
#SBATCH --output=hello.o%j
##SBATCH --error=hello.e%j

### set email notification
##SBATCH --mail-type=BEGIN,END,FAIL
##SBATCH --mail-user=username@host

### In case of multiple allocations, select which one to charge
##SBATCH --account=xyz

### For OpenMP jobs, set OMP_NUM_THREADS to the number of
### cpus per task for the job step
export OMP_NUM_THREADS=4

## Use srun to run the job on the requested resources. You can change --ntasks-per-node and
## --cpus-per-task, as long as --cpus-per-task does not exceed the number requested in the
## sbatch parameters
srun --ntasks=12 --ntasks-per-node=4 --cpus-per-task=4 ./hellope
See the sbatch man page for additional environment variables available.
srun
The srun command initiates an interactive job on the compute nodes.
For example, the following command will run an interactive job in the ncsa queue with a wall clock limit of 30 minutes, using one node and 16 cores per node. You can also use other sbatch options such as those documented above.
srun --time=00:30:00 --nodes=1 --ntasks-per-node=16 --pty /bin/bash
After you enter the command, you will have to wait for Slurm to start the job. As with any job, your interactive job will wait in the queue until the specified number of nodes is available. If you specify a small number of nodes for smaller amounts of time, the wait should be shorter because your job will backfill among larger jobs. You will see something like this:
srun: job 123456 queued and waiting for resources
Once the job starts, you will see:
srun: job 123456 has been allocated resources
and will be presented with an interactive shell prompt on the launch node. At this point, you can use the appropriate command to start your program.
When you are done with your runs, use the exit command to end the job.
scancel
The scancel command deletes a queued job or kills a running job.
scancel JobID
Debugging Batch Jobs
To gain access to performance counters during job execution, specify a constraint/feature with the job for perf. This should allow access to performance counters for debugging utilities.
#SBATCH --constraint=perf
Job Dependencies
Job dependencies allow users to set execution order in which their queued jobs run.
Job dependencies are set by using the --dependency option with the syntax being --dependency=<dependency type>:<JobID>.
Slurm places the jobs in Hold state until they are eligible to run.
The following are examples on how to specify job dependencies using the afterany dependency type, which indicates to Slurm that the dependent job should become eligible to start only after the specified job has completed.
On the command line:
sbatch --dependency=afterany:<JobID> jobscript.pbs
In a job script:
#!/bin/bash
#SBATCH --time=00:30:00
#SBATCH --nodes=1
#SBATCH --ntasks-per-node=16
#SBATCH --job-name="myjob"
#SBATCH --output=myjob.o%j
#SBATCH --dependency=afterany:<JobID>
In a shell script that submits batch jobs:
#!/bin/bash
JOB_01=`sbatch jobscript1.sbatch |cut -f 4 -d " "`
JOB_02=`sbatch --dependency=afterany:$JOB_01 jobscript2.sbatch |cut -f 4 -d " "`
JOB_03=`sbatch --dependency=afterany:$JOB_02 jobscript3.sbatch |cut -f 4 -d " "`
...
Generally, the recommended dependency types to use are:
afterafteranyafternotokafterok
While there are additional dependency types, those types that work based on batch job error codes may not behave as expected because of the difference between a batch job error and application errors. See the dependency section of the sbatch man page for additional information.
Job Arrays
If a need arises to submit the same job to the batch system multiple times, instead of issuing one sbatch command for each individual job, users can submit a job array.
Job arrays allow users to submit multiple jobs with a single job script using the --array option to sbatch.
An optional slot limit can be specified to limit the number of jobs that can run concurrently in the job array.
See the sbatch man page for details.
The file names for the input, output, etc. can be varied for each job using the job array index value defined by the Slurm environment variable SLURM_ARRAY_TASK_ID.
A sample batch script that makes use of job arrays is available in /projects/consult/slurm/jobarray.sbatch.
Notes:
Valid specifications for job arrays are:
--array 1-10--array 1,2,6-10--array 8--array 1-100%5(a limit of 5 jobs can run concurrently)
You should limit the number of batch jobs in the queues at any one time to 1,000 or less; each job within a job array is counted as one batch job.
Interactive batch jobs are not supported with job array submissions.
For job arrays, use of any environment variables relating to the JobID (e.g., PBS_JOBID) must be enclosed in double quotes.
To delete job arrays, see the Slurm scancel documentation.
Interactive Sessions
Interactive sessions can be implemented in several ways, depending on what is needed. As an example, to start up a bash shell on a node of a partition named rome, one can use:
srun --account=account_name --partition=rome --nodes=1 --pty bash
Other Slurm options can be added to that command, such as options for specifying the desired session duration (--time), number of tasks (--tasks), and others.
Translating PBS Scripts to Slurm Scripts
The following table contains a list of common commands and terms used with the TORQUE/PBS scheduler, and the corresponding commands and terms used under the Slurm scheduler. This sheet can be used to assist in translating your existing PBS scripts into Slurm scripts to be read by the new scheduler, or as a reference when creating new Slurm job scripts.
User Commands
User Commands |
PBS/TORQUE |
Slurm |
|---|---|---|
Job submission |
qsub [script_file] |
sbatch [script_file] |
Job deletion |
qdel [job_id] |
scancel [job_id] |
Job status (by job) |
qstat [job_id] |
squeue [job_id] |
Job status (by user) |
qstat -u [user_name] |
squeue -u [user_name] |
Job hold |
qhold [job_id] |
scontrol hold [job_id] |
Job release |
qrls [job_id] |
scontrol release [job_id] |
Queue list |
qstat -Q |
squeue |
Node list |
pbsnodes -l |
sinfo -N OR scontrol show nodes |
Cluster status |
qstat -a |
sinfo |
Environment
Environment |
PBS/TORQUE |
Slurm |
|---|---|---|
Job ID |
$PBS_JOBID |
$SLURM_JOBID |
Submit Directory |
$PBS_O_WORKDIR |
$SLURM_SUBMIT_DIR |
Submit Host |
$PBS_O_HOST |
$SLURM_SUBMIT_HOST |
Node List |
$PBS_NODEFILE |
$SLURM_JOB_NODELIST |
Q |
$PBS_ARRAYID |
$SLURM_ARRAY_TASK_ID |
Job Specifications
Job Specification |
PBS/TORQUE |
Slurm |
|---|---|---|
Script directive |
#PBS |
#SBATCH |
Queue/Partition |
-q [name] |
-p [name] *it is best to let Slurm pick the optimal partition |
Node Count |
-l nodes=[count] |
-N [min[-max]] *Slurm auto calculates this if just task # is given |
Total Task Count |
-l ppn=[count] OR -l mppwidth=[PE_count] |
-n OR --ntasks=ntasks |
Wall Clock Limit |
-l walltime=[hh:mm:ss] |
-t [min] OR -t [days-hh:mm:ss] |
Standard Output File |
-o [file_name] |
-o [file_name] |
Standard Error File |
-e [file_name] |
-e [file_name] |
Combine stdout/err |
-j oe (both to stdout) OR -j eo (both to stderr) |
(use -o without -e) |
Copy Environment |
-V |
--export=[ALL | NONE | variables] |
Event Notification |
-m abe |
--mail-type=[events] |
Email Address |
-M [address] |
-mail-user=[address] |
Job Name |
-N [name] |
--job-name=[name] |
Job Restart |
-r [y | n] |
--requeue OR --no-requeue |
Resource Sharing |
-l nac cesspolicy=singlejob |
--exclusive OR --shared |
Memory Size |
-l mem=[MB] |
--mem=[mem][M | G | T] OR --mem-per-cpu=[mem][M | G | T] |
Accounts to charge |
-A OR -W group_list=[account] |
--account=[account] OR -A |
Tasks Per Node |
-l mppnppn [PEs_per_node] |
--tasks-per-node=[count] |
CPUs Per Task |
--cpus-per-task=[count] |
|
Job Dependency |
-d [job_id] |
--depend=[state:job_id] |
Quality of Service |
-l qos=[name] |
--qos=[normal | high] |
Job Arrays |
-t [array_spec] |
--array=[array_spec] |
Generic Resources |
-l o ther=[resource_spec] |
--gres=[resource_spec] |
Job Enqueue Time |
-a “YYYY-MM-DD HH:MM:SS” |
--begin=YYYY-MM-DD[THH:MM[:SS]] |
Setting Default Account
To set a default account for charging jobs when you have more than one chargeable account:
Use the
accountscommand to view your list of accounts you can charge jobs to:$ accounts Project Summary for User gbauer: Project Description Usage (Hours) ---------- ---------------------------------------- --------------- abcd-hydro ..... 25 wxyz-hydro ..... 10660
Then use
sacctmgrto set a default account:$ sacctmgr modify user where ${USER} set DefaultAccount=abcd-hydro Modified users... gbauer Would you like to commit changes? (You have 30 seconds to decide) (N/y): yThen check to confirm:
$ sacctmgr show user ${USER}
      User   Def Acct     Admin
---------- ---------- ---------
    gbauer abcd-hydro      None
Jupyter Notebooks
The Jupyter notebook executables are in your $PATH after loading the anaconda3 module.
Do not run Jupyter on the shared login nodes.
Instead, follow these steps to attach a Jupyter notebook running on a compute node to your local web browser:
Start a Jupyter job via
srunand note the hostname (you pick the port number for--port=).srun Jupyter ( anaconda3_cpu on a CPU node ):
$ srun --account=wxyz-hydro --partition=sandybridge \
  --time=00:30:00 --mem=32g \
  jupyter-notebook --no-browser \
  --port=8991 --ip=0.0.0.0
...
    Or copy and paste one of these URLs:
        http://hydro40:8991/?token=e940b8ece3510bd7a3a50bce7df2fb5a5a197dafed8adb82
     or http://127.0.0.1:8991/?token=e940b8ece3510bd7a3a50bce7df2fb5a5a197dafed8adb82
Note the internal hostname in the cluster for step 2. You will use the second URL in step 3.
In step 3, to start the notebook in your browser, replace http://hostname:8888/ with http://127.0.0.1:8991/ (the port number you selected with
--port=)You may not see the job hostname when running with a container, find it with
squeue:squeue -u $USER:
$ squeue -u $USER
       JOBID PARTITION     NAME     USER ST       TIME  NODES NODELIST(REASON)
       35606 sandybrid jupyter- rbrunner  R      11:05      1 hydro40
Specify the host your job is using in the next step (hydro40, for example).
From your local desktop or laptop create an SSH tunnel to the compute node via a login node of Delta. Replace “hydro40” with the node.
SSH tunnel for Jupyter:
$ ssh -l my_hydro_username \
  -L 127.0.0.1:8991:hydro40:8991 \
  hydrol1.ncsa.illinois.edu
Authenticate with your login and MFA, as usual. Note that if you have SSH ControlMaster set up on your local machine, you may need to add -o ControlPath=none to the ssh command parameters above.
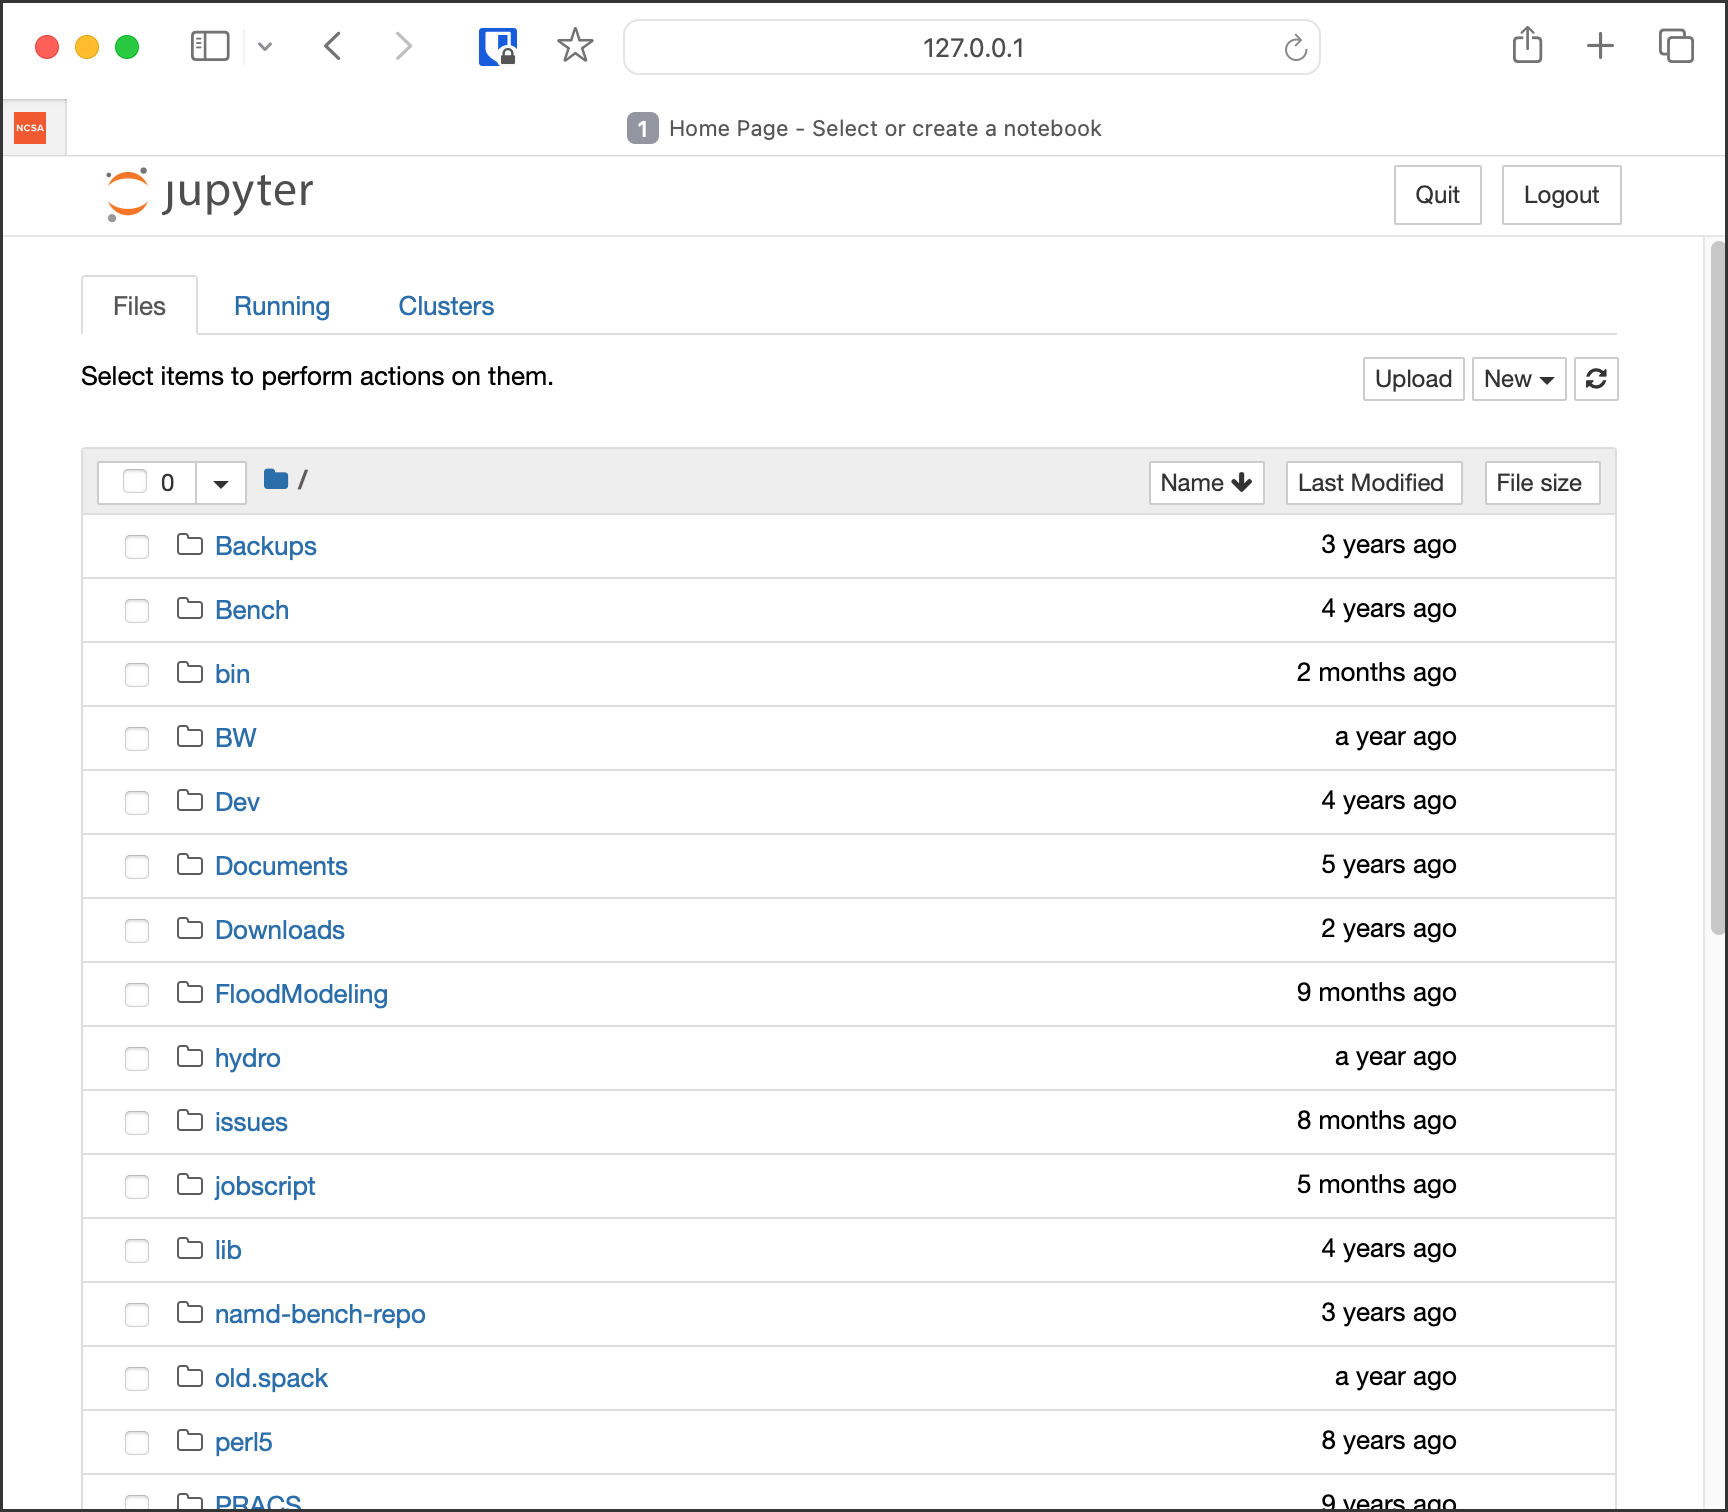
Paste the second URL (containing 127.0.0.1:port_number and the token string) from step 1 into your browser and you will be connected to the Jupyter instance running on your compute node of Delta.